

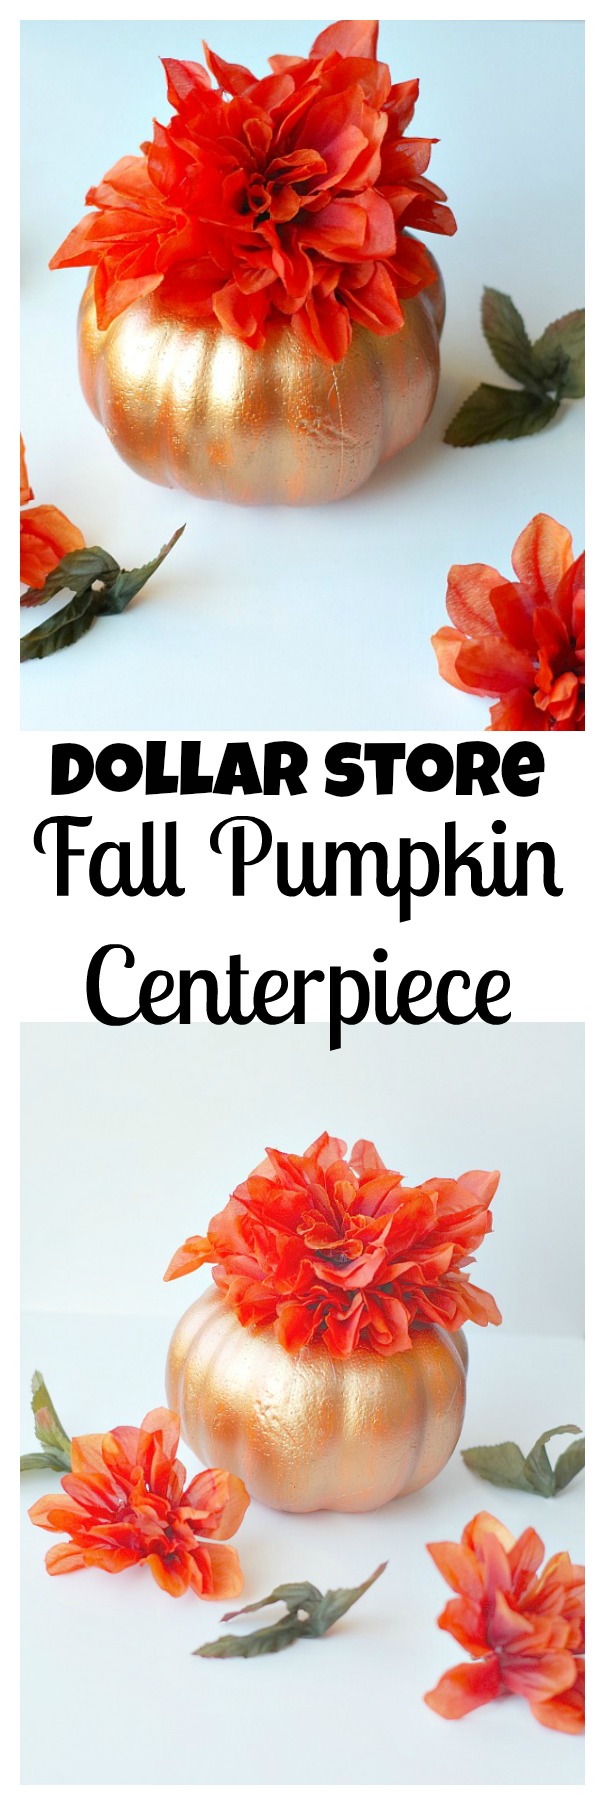
It is looking like fall y’all! Ok not outside but inside my place I am getting ready for fall. Who else is ready for fall?! I made these simple dollar store pumpkin centerpieces to celebrate the season. The bottom pumpkins were ugly as is and needed a bit of painting. I was really impressed with their selection of fake flowers. You could paint the pumpkin any color you want and use any color flowers. It just depends on your color preference. I like the idea of bright color pumpkins with white flower. This time around I decided to go with more fall type colors which is very unlike me. I tend to steer away from traditional but I’m happy I went with orange and copper! Love the shiny color on the pumpkin. The only thing I didn’t get from the dollar store is paint. Walmart, Target or Michael’s have a ton of paint colors for reasonable prices. For one centerpiece, even two you can buy a small paint bottle.
What you need to make the fall pumpkin centerpiece:
paint in your choice of color(I chose copper) and paint brush
foam dollar store pumpkin
fake flowers
hot glue gun

- Paint the pumpkin and let it dry.
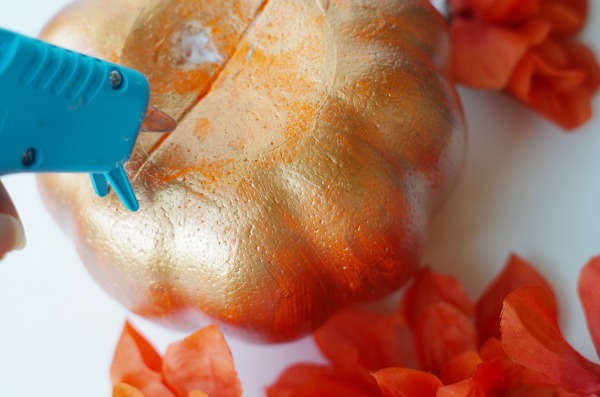


- Put hot glue on the top of the pumpkin in one spot.
- Press a fake flower firmly down on top of the hot glue.
- Put more glue next to the first flower.
- Add another flower on top of the hot glue.
- Continue until the top is filled up (I used 3 flowers per pumpkin).
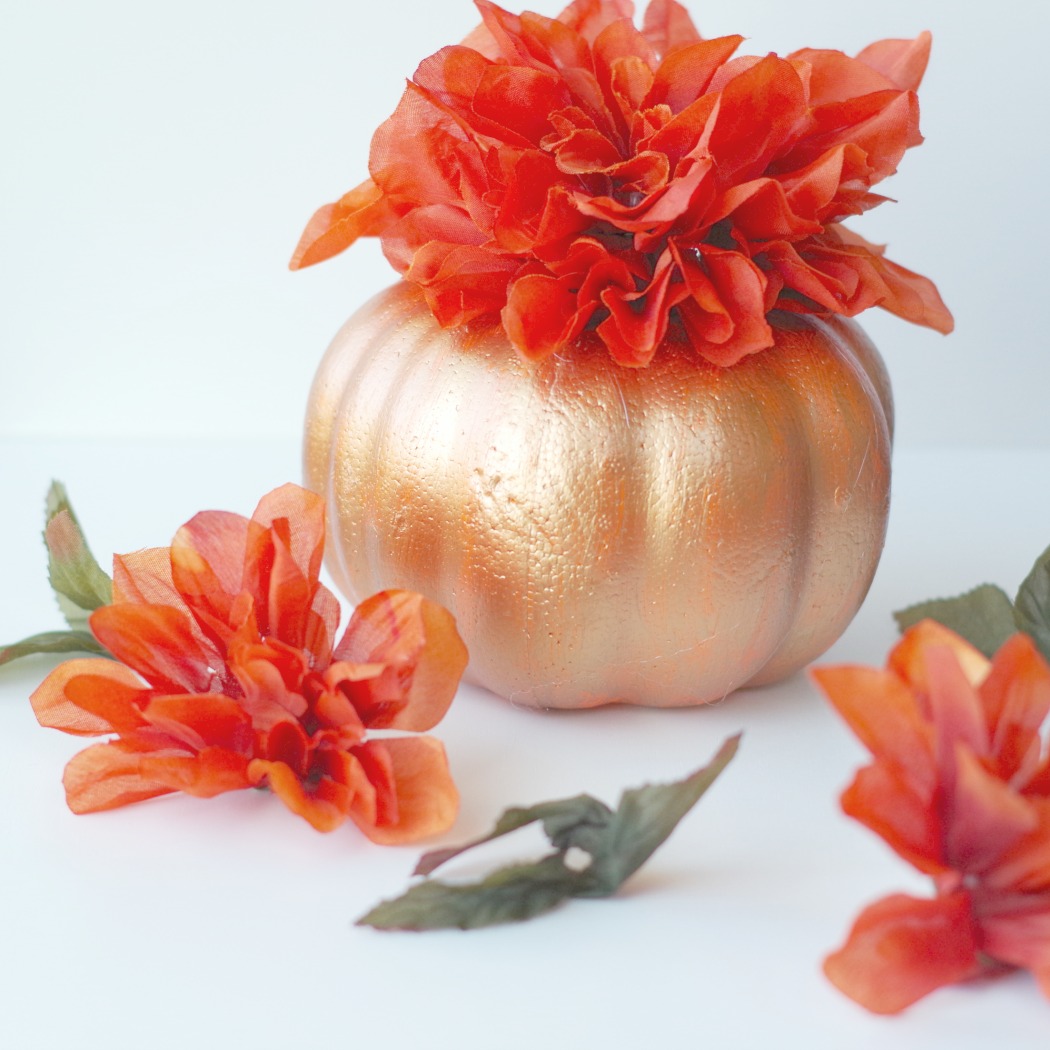


I love these fall centerpieces! My daughter did the one with the bright color. I like the bright color look, just add an extra coat of paint. I love how she helps out and she wanted hers in her room for decoration! It’s really fun having a daughter that loves crafts as much as I do.
About Valerie Jackson
Hi I'm Val! I love making simple crafts with my kids using free printable templates. Come craft with us!
- Web |
- More Posts(498)
Comments are closed.